Make a silhouette on a white background
Turn a photo into a black silhouette on white, even when the original has a busy background. The examples below show a park, a conservatory, and a cat engraving with their subjects filled in black on a white output background.
Open the free converterMake a white-background silhouette in four steps
- Choose a JPG, PNG, or WebP image up to 15MB. The source can have an outdoor or colored background.
- Review the detected subject. Use Smart Brush to add missing parts or remove unwanted background.
- Set the silhouette color to black. In Filled, choose Custom and set the background to white (#FFFFFF).
- Download the PNG. White is part of this image; choose Transparent instead if you need a background-free cutout.
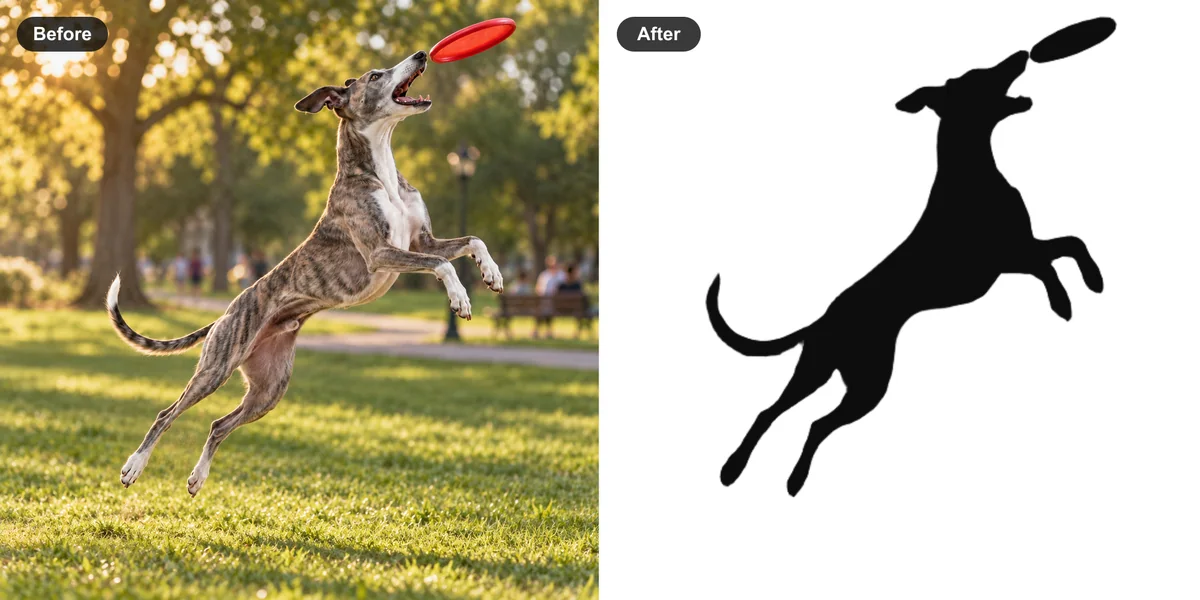
A white result does not require a white source
The horse on the guide index and the dog above start in outdoor scenes. White is the output background selected after the subject has been separated, not a requirement for the input photo.
Choose a photo with a recognizable outer shape. Keep the ears, feet, tail, or wing tips inside the frame; changing the background cannot restore parts that were cropped out.
Inspect fine details against white
A plain white background makes the boundary easier to inspect. Compare the source and result before saving, especially narrow gaps and thin tips.
The macaw example removes the conservatory and keeps the spread wings. If a feather is missing or a piece of foliage remains, correct only that area with Smart Brush.
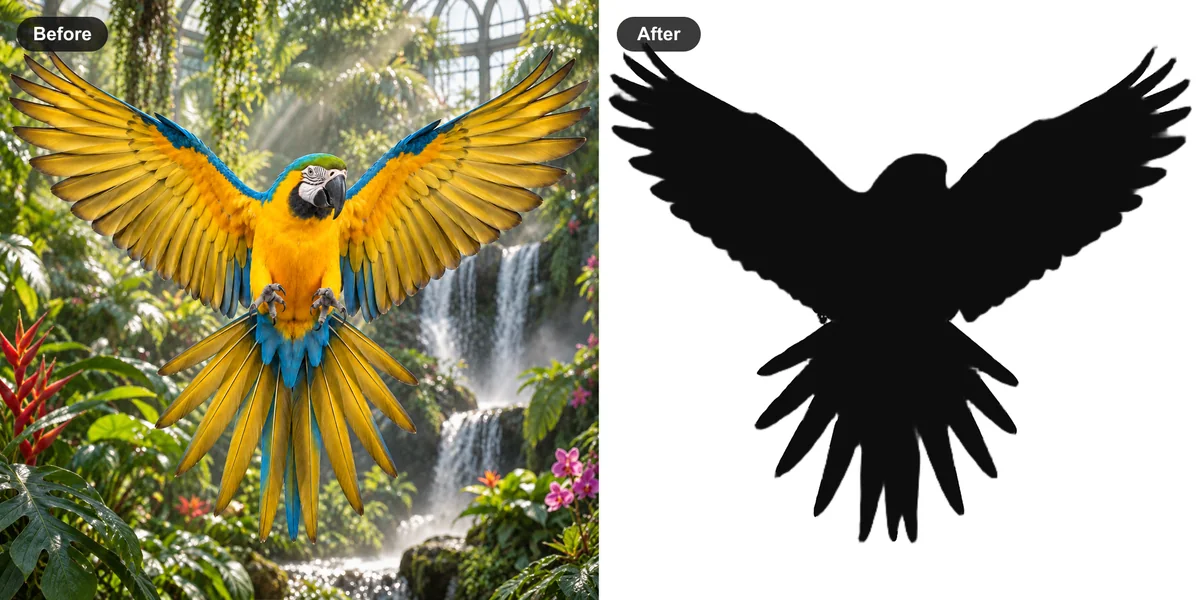
Filled silhouettes remove texture and may include shadows
A filled silhouette turns the selected area into one color. Fur patterns, facial features, and shading inside that area disappear; use the outer shape to judge whether the subject remains recognizable.
Shading that touches the subject may also enter the mask. In the cat engraving below, inspect the broad lower edge and remove unwanted shading if you need a tighter cutout.
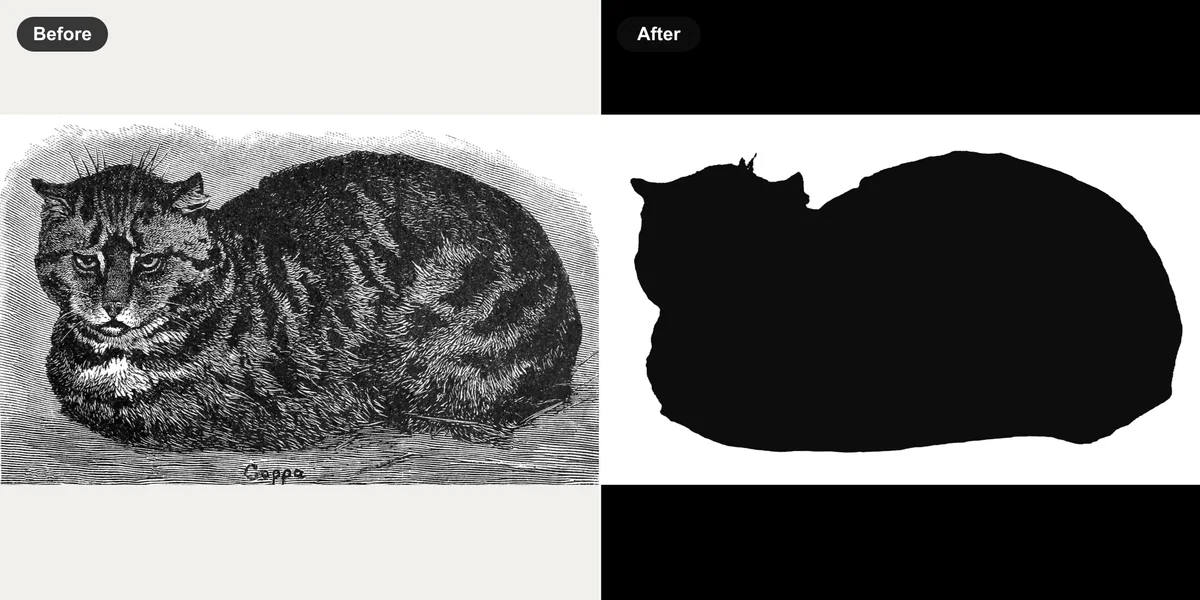
Choose white, transparency, or the original scene
Use Custom with white for a finished image on a white rectangle. Use Transparent to place the silhouette over another design without that rectangle, or Original to keep the source scene.
All three examples on this page are filled silhouettes. For a line-only result, use Outline instead. Downloads are raster PNGs, not editable SVG paths.
Frequently asked questions
Does my original photo need a white background?
No. Separate the subject first, then choose white under Filled and Custom. The outdoor examples on this page use that output background.
Is the white background transparent?
No. White is an opaque color, even in a PNG. Choose Transparent if you want the background of your next layout to show through.
Why are extra objects or shadows included?
Automatic selection can include nearby objects or connected shading. Keep them if they belong in your composition, or remove those areas with Smart Brush.
Can I use a color other than white?
Yes. Custom lets you choose another solid background color. Check that the silhouette stands out against it before saving.