Choose a photo
Start with one clear, fully visible subject.
Create filled silhouettes, transparent PNGs, and outlines — no account required.
or choose a photo from your device
Drag the slider to compare the original with the silhouette.
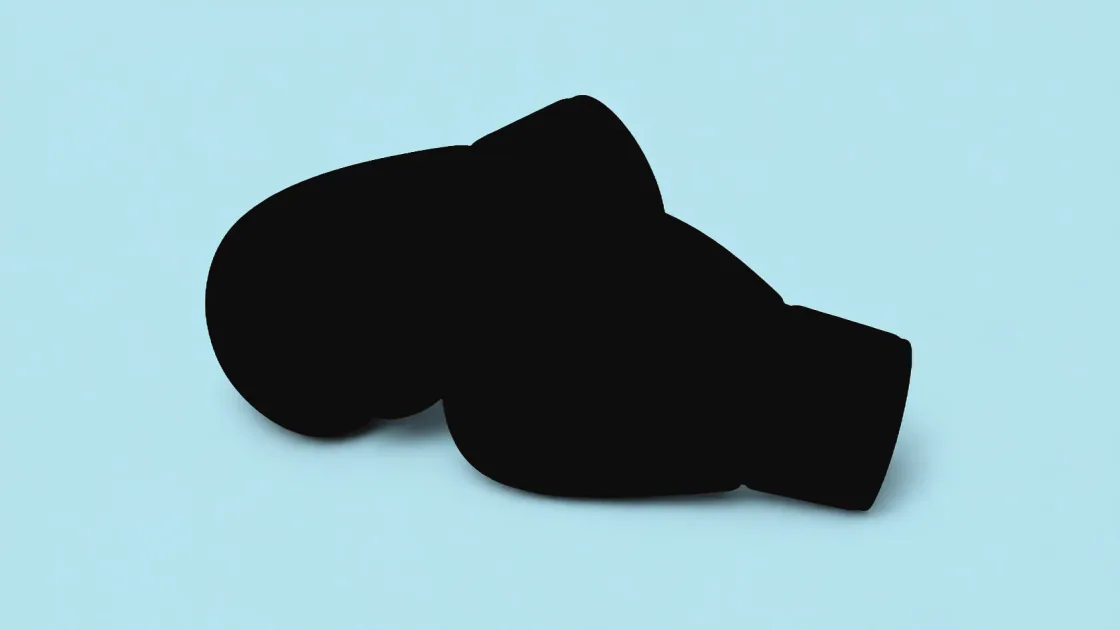
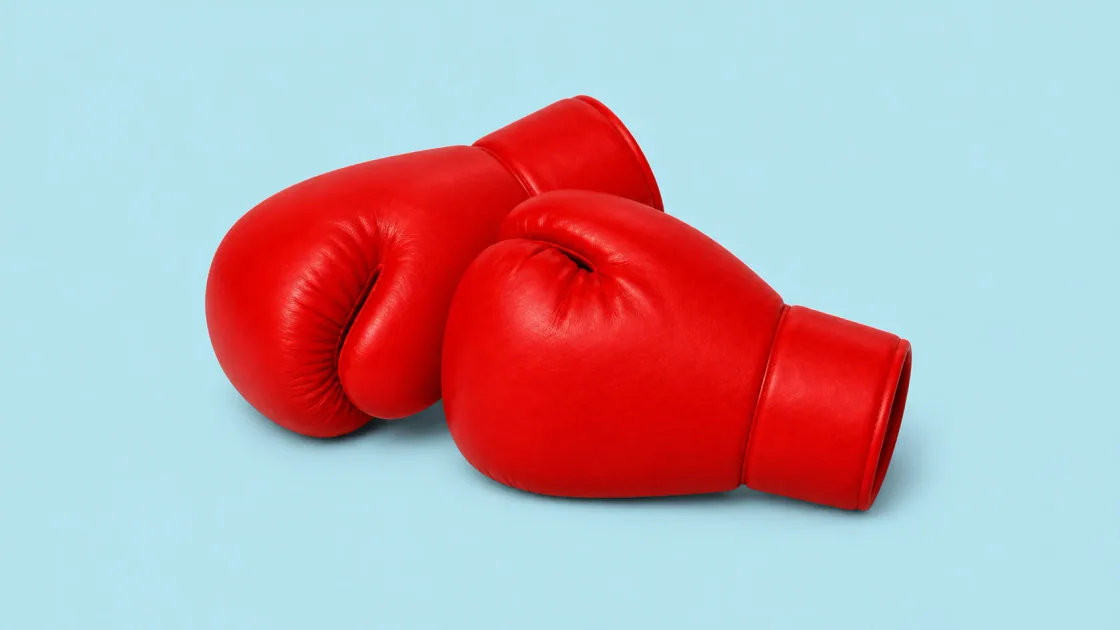
The gloves stay recognizable even where the shapes touch.
Background removal retains the subject's colors. A silhouette simplifies its shape to one color. Choose an outline when the boundary matters most.


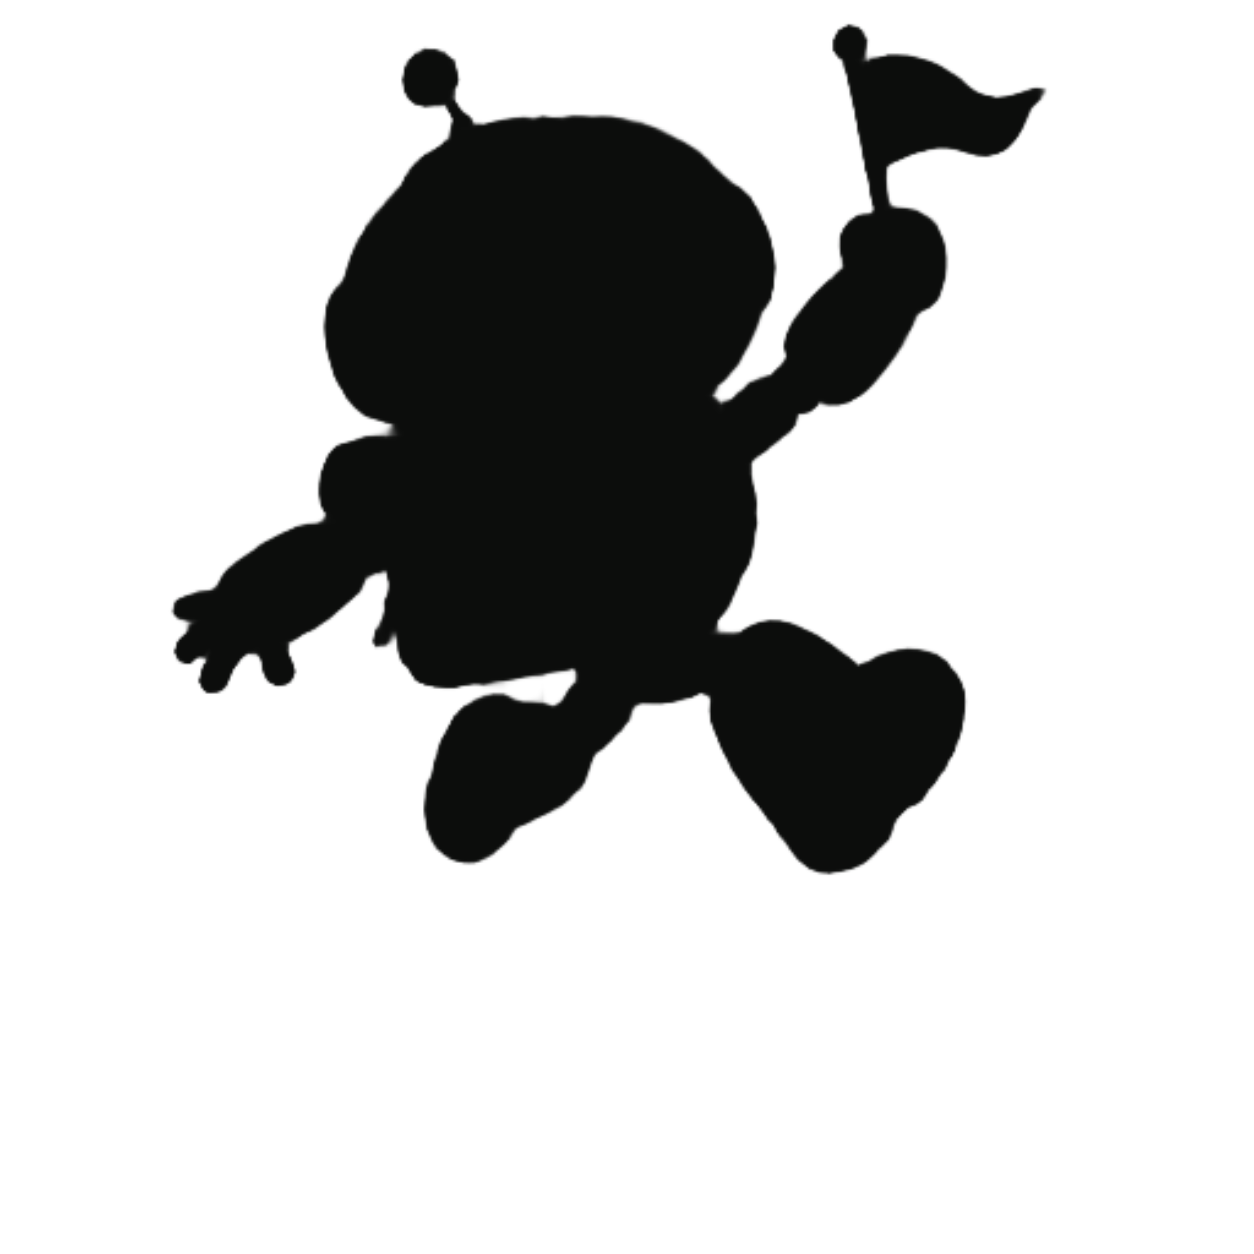

These outputs apply a documented SilMaker selection mask to the same source. The checkerboard indicates transparency and is not included in the file.
Start with one clear, fully visible subject.
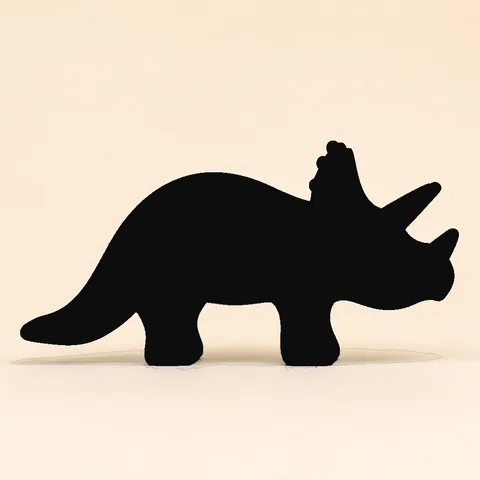
The main subject is detected automatically on your device.
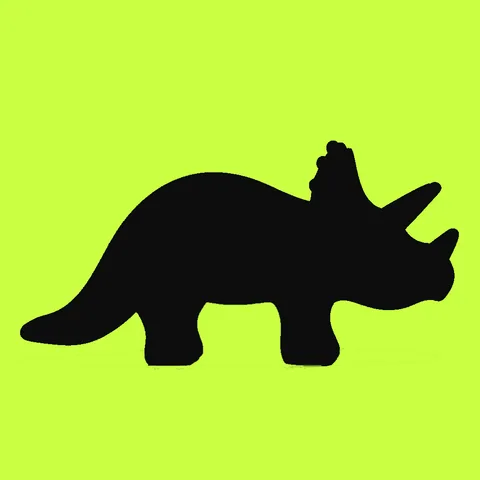
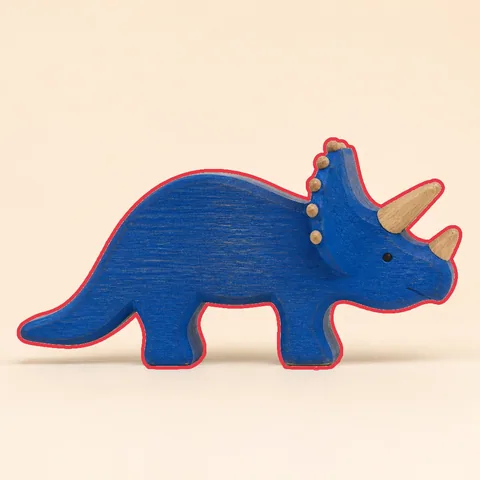

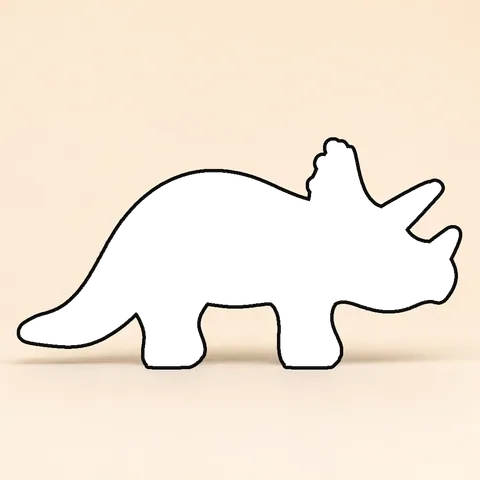
Pick a filled or outline style, then adjust the color and background.
See how a documented SilMaker export connects to a finished layout in a separate editor.
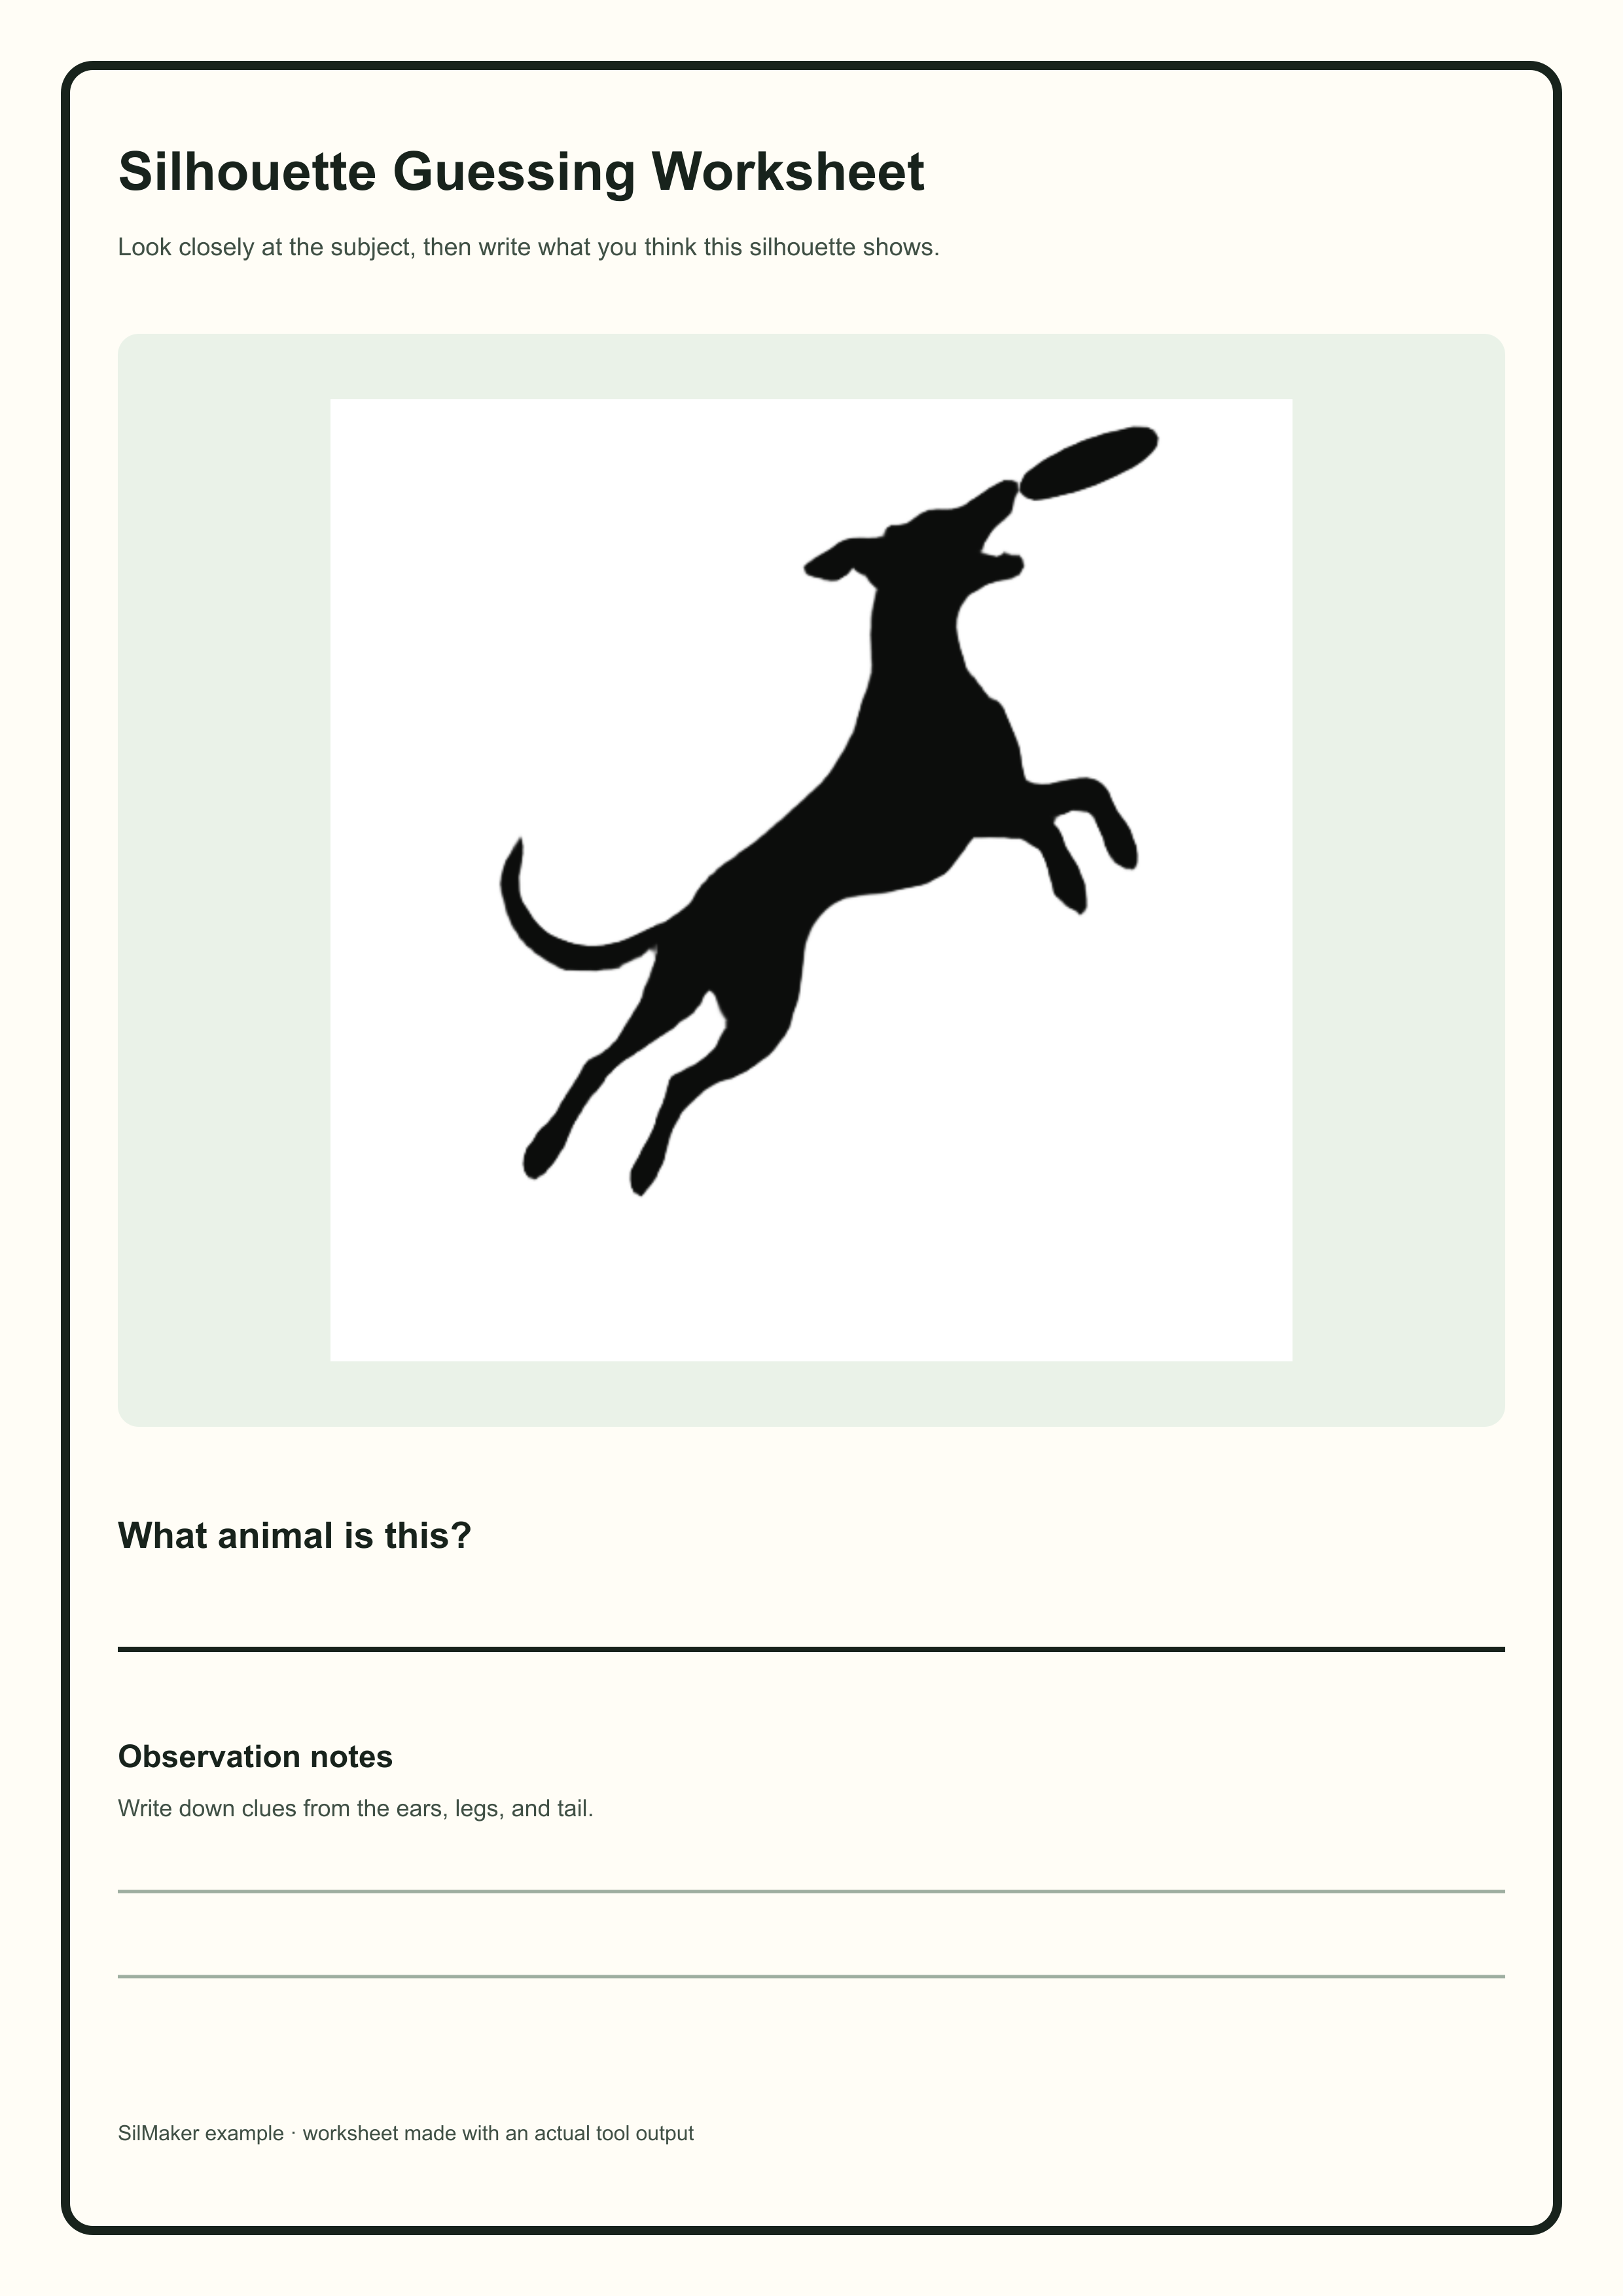
A printable activity built from a documented silhouette export.
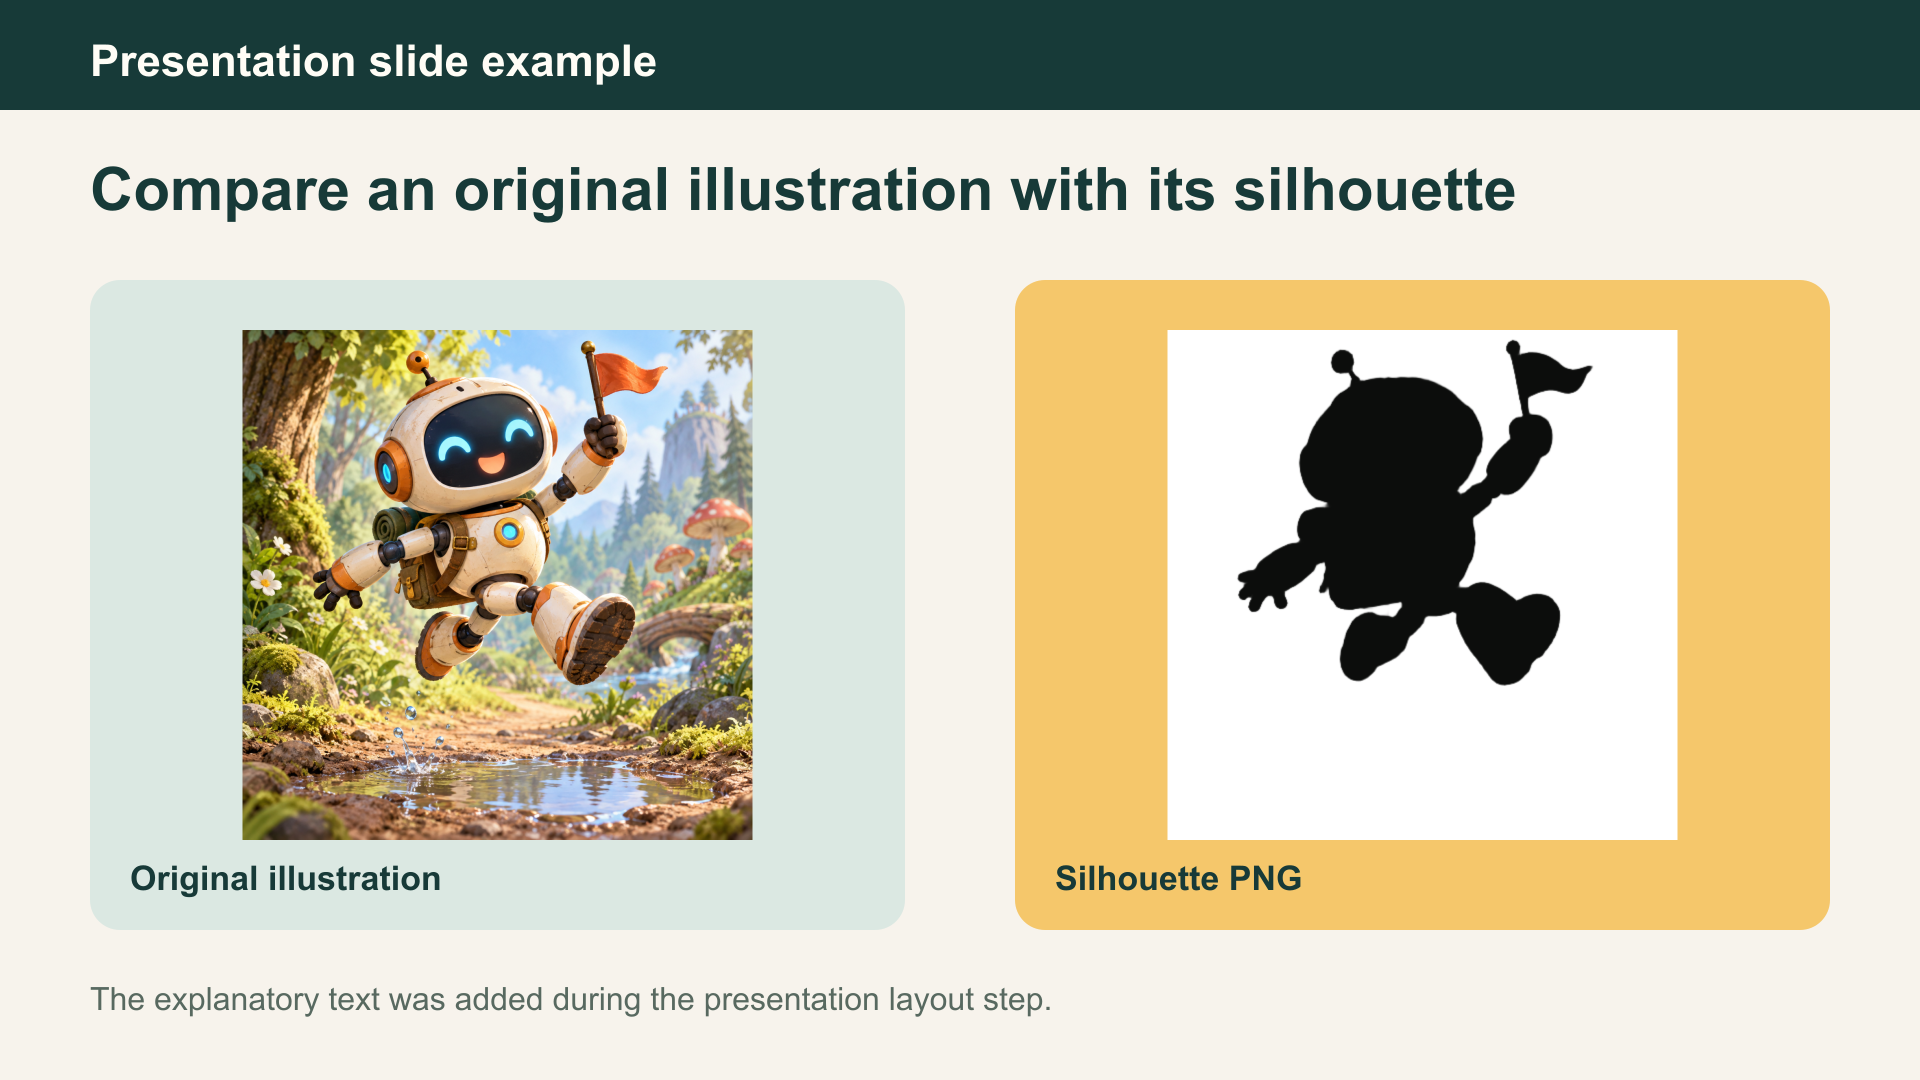
Original appearance and silhouette shape shown as separate views.
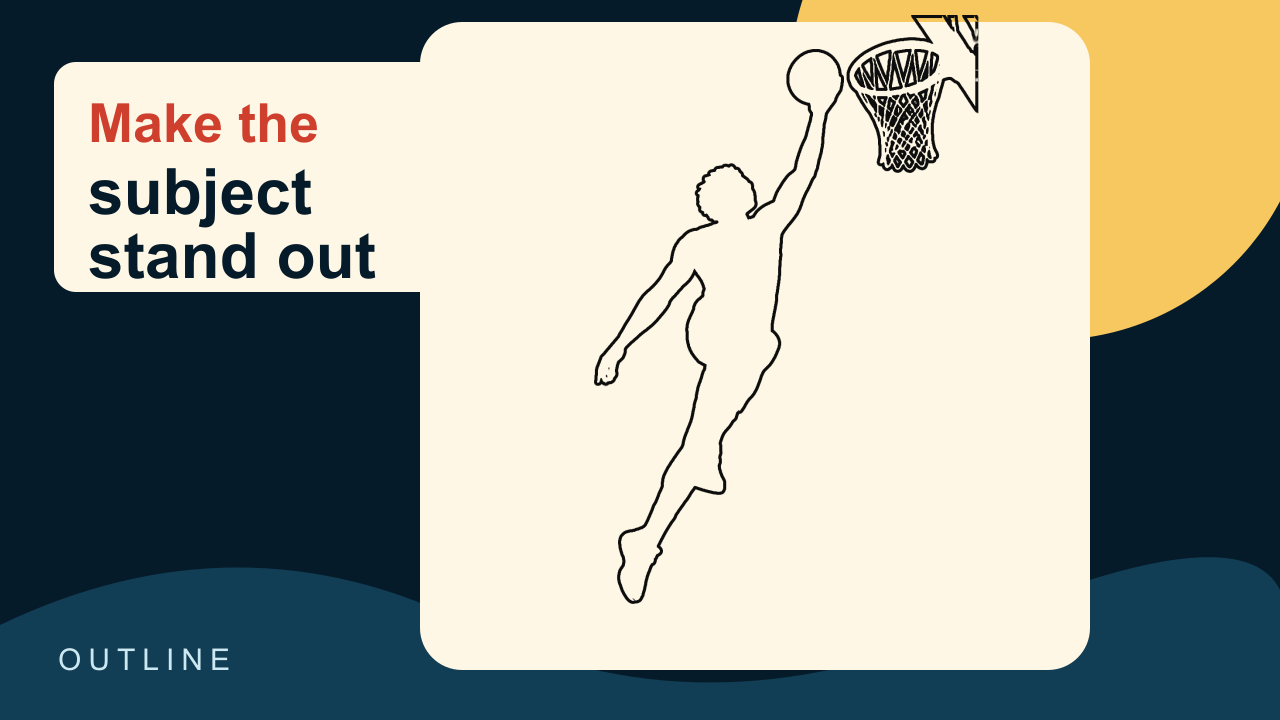
A real outline export placed in a finished thumbnail layout.
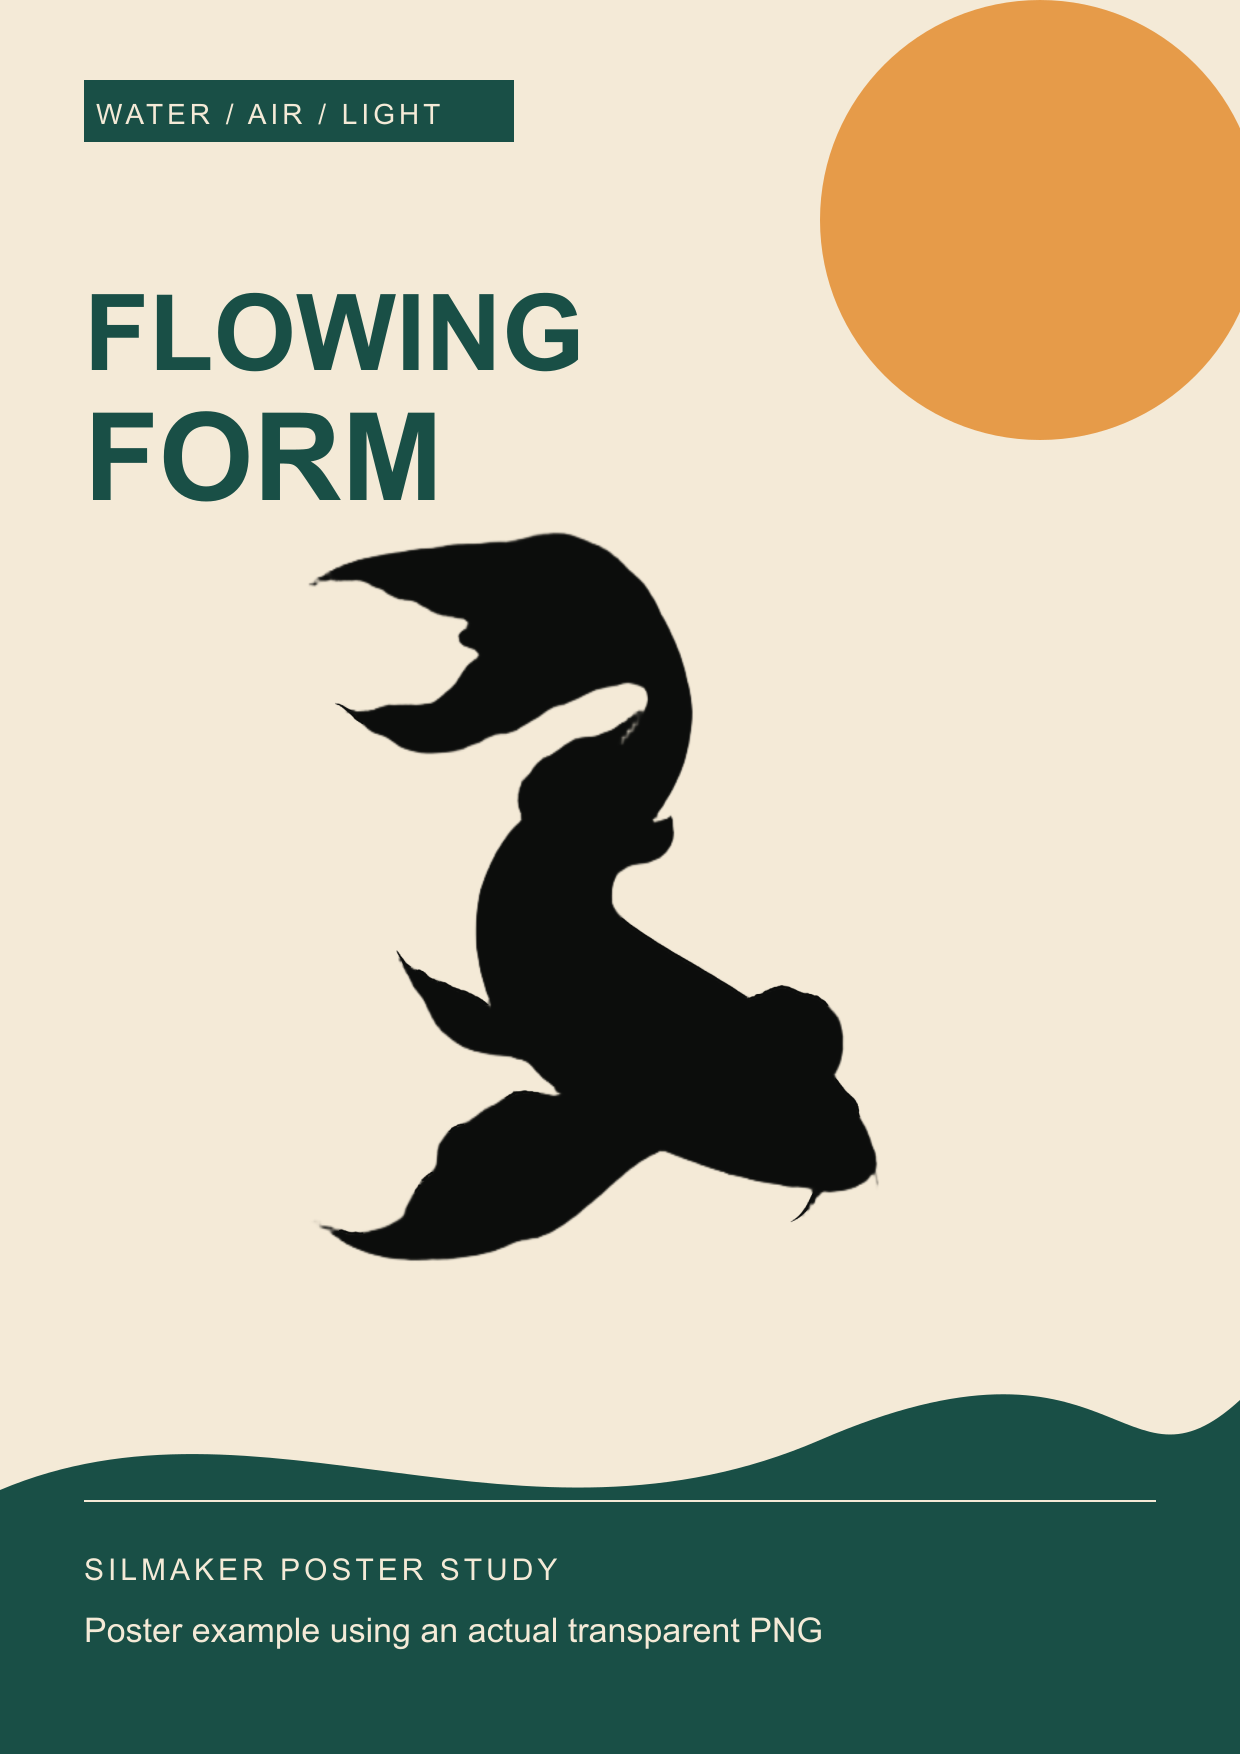
A transparent export used as the focal shape in a layout.
A few simple choices make subject detection more reliable and reduce touch-ups.
A single person, pet, product, or object is easier to isolate than a crowded group.
Different colors or brightness between the subject and background make the outline easier to detect.
Don't crop important details like ears, feet, tails, handles, or wheels.
Use Smart Brush on small missed or extra areas instead of reworking the whole mask.
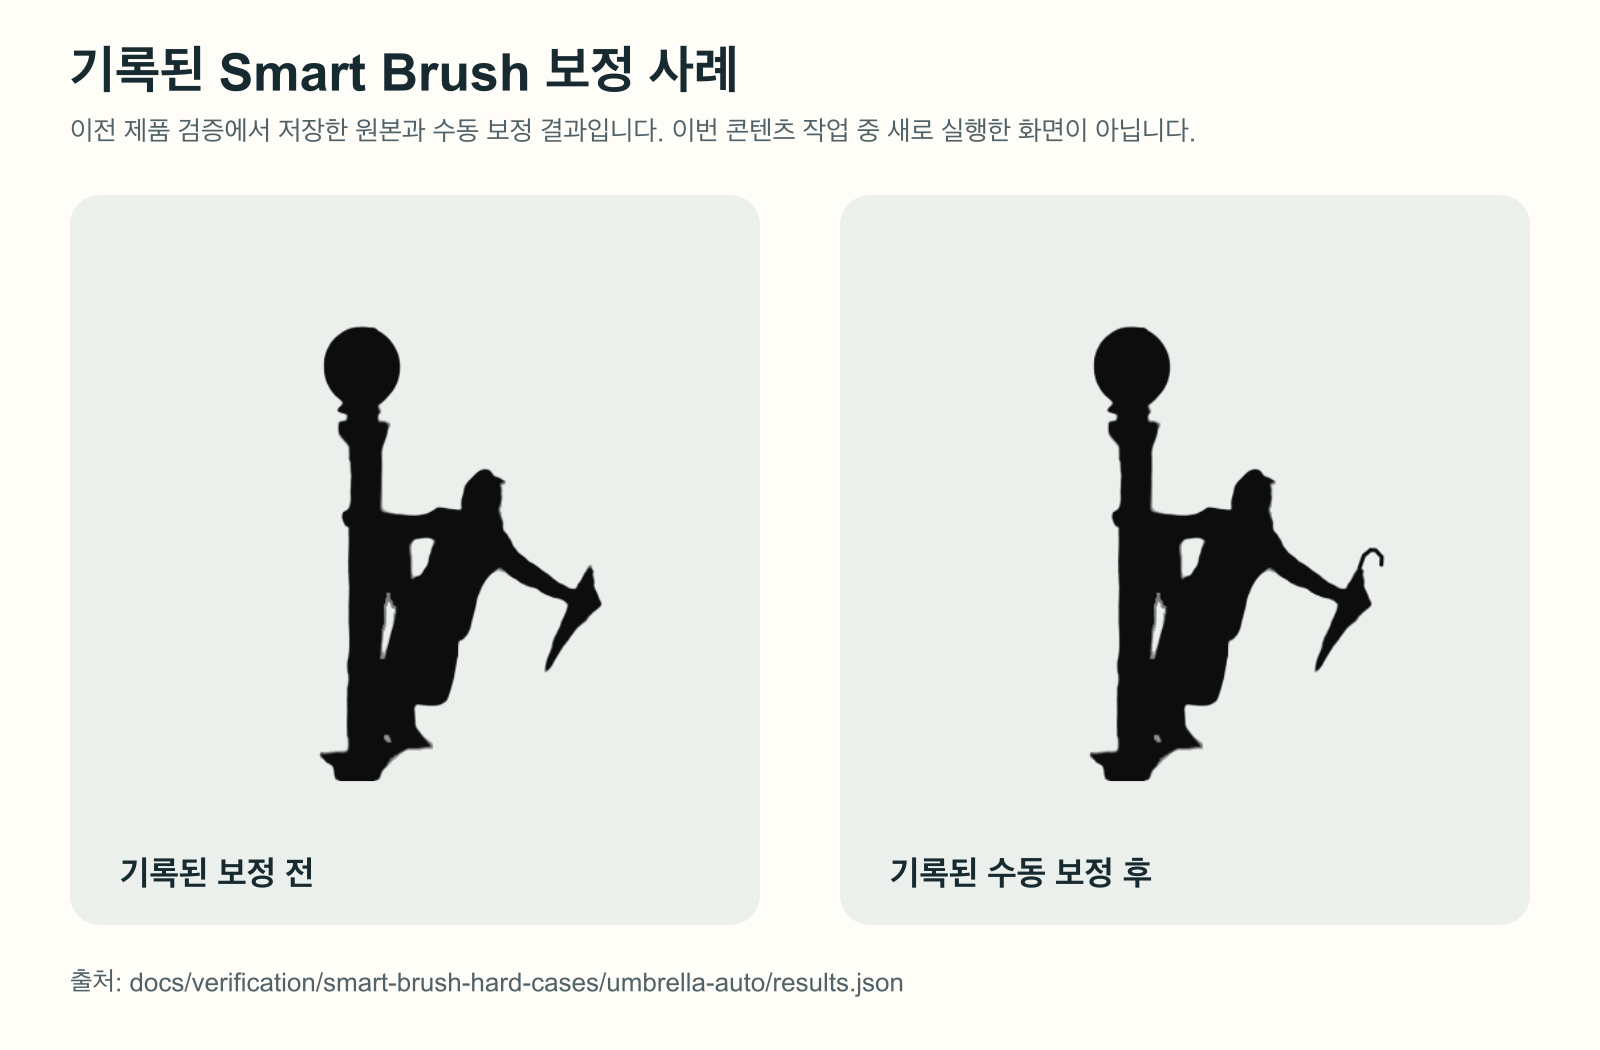 Recorded correction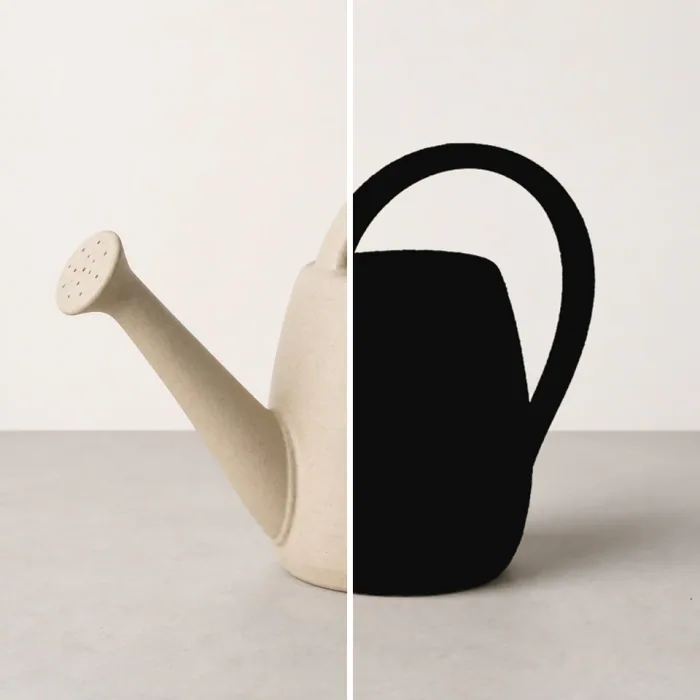
Choose a photo, make the silhouette, and fix difficult edges.
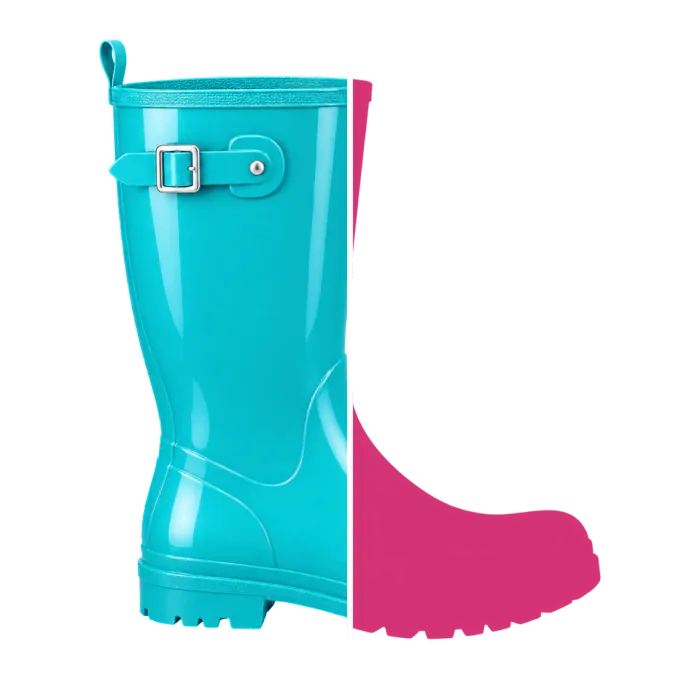
Create a silhouette you can place on any background.
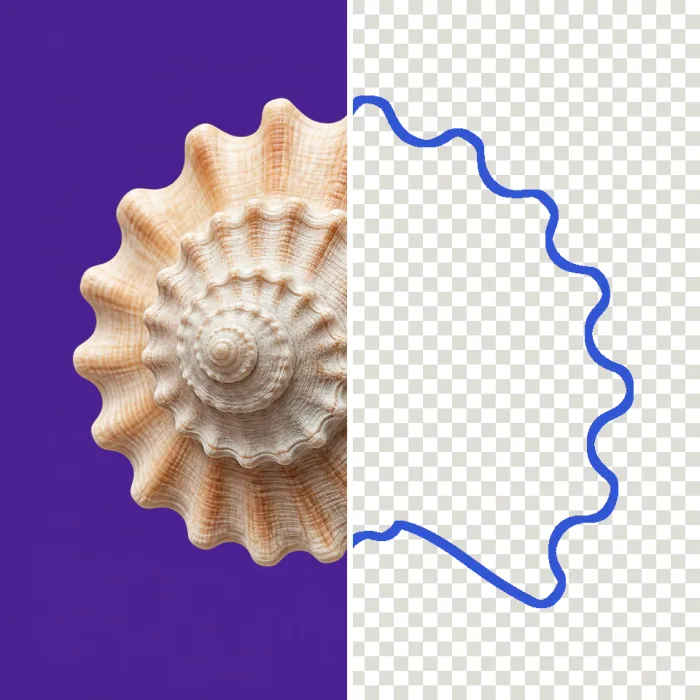
Compare outline styles and see how each background option changes the result.
More guides: Convert a PNG or Make a silhouette on a white background.
All guides →No. Your image is processed in the browser you're using. SilMaker doesn't receive or store it.
JPG, PNG, or WebP images up to 15MB. Results are downloaded as PNG files.
Some images need the subject-detection model. The first run may take longer while your browser downloads it; later runs can reuse the cached files.
It controls how far Smart Brush looks around your mark. Start with Tight for small fixes and widen it only when needed.
Thin details, blur, low contrast, reflections, and transparency can be harder to separate. Smart Brush can fix many small errors, but not every image will be perfect.
No. SilMaker exports raster PNG files. Use a vector editor when you need scalable artwork or precise cutting paths.
Only if you have the right to use the original image. SilMaker does not change ownership or licensing rights.
or choose a photo from your device