How to turn a photo into a silhouette online
SilMaker converts the main subject of a JPG, PNG, or WebP image into a filled silhouette or outline inside your browser. Choose the original scene, transparency, or a custom color. Hollow outlines keep the scene around the subject while leaving its interior open.
Open the free converterConvert your photo in four steps
- Choose a JPG, PNG, or WebP photo up to 15MB.
- Wait while the browser identifies the main subject and builds the silhouette mask.
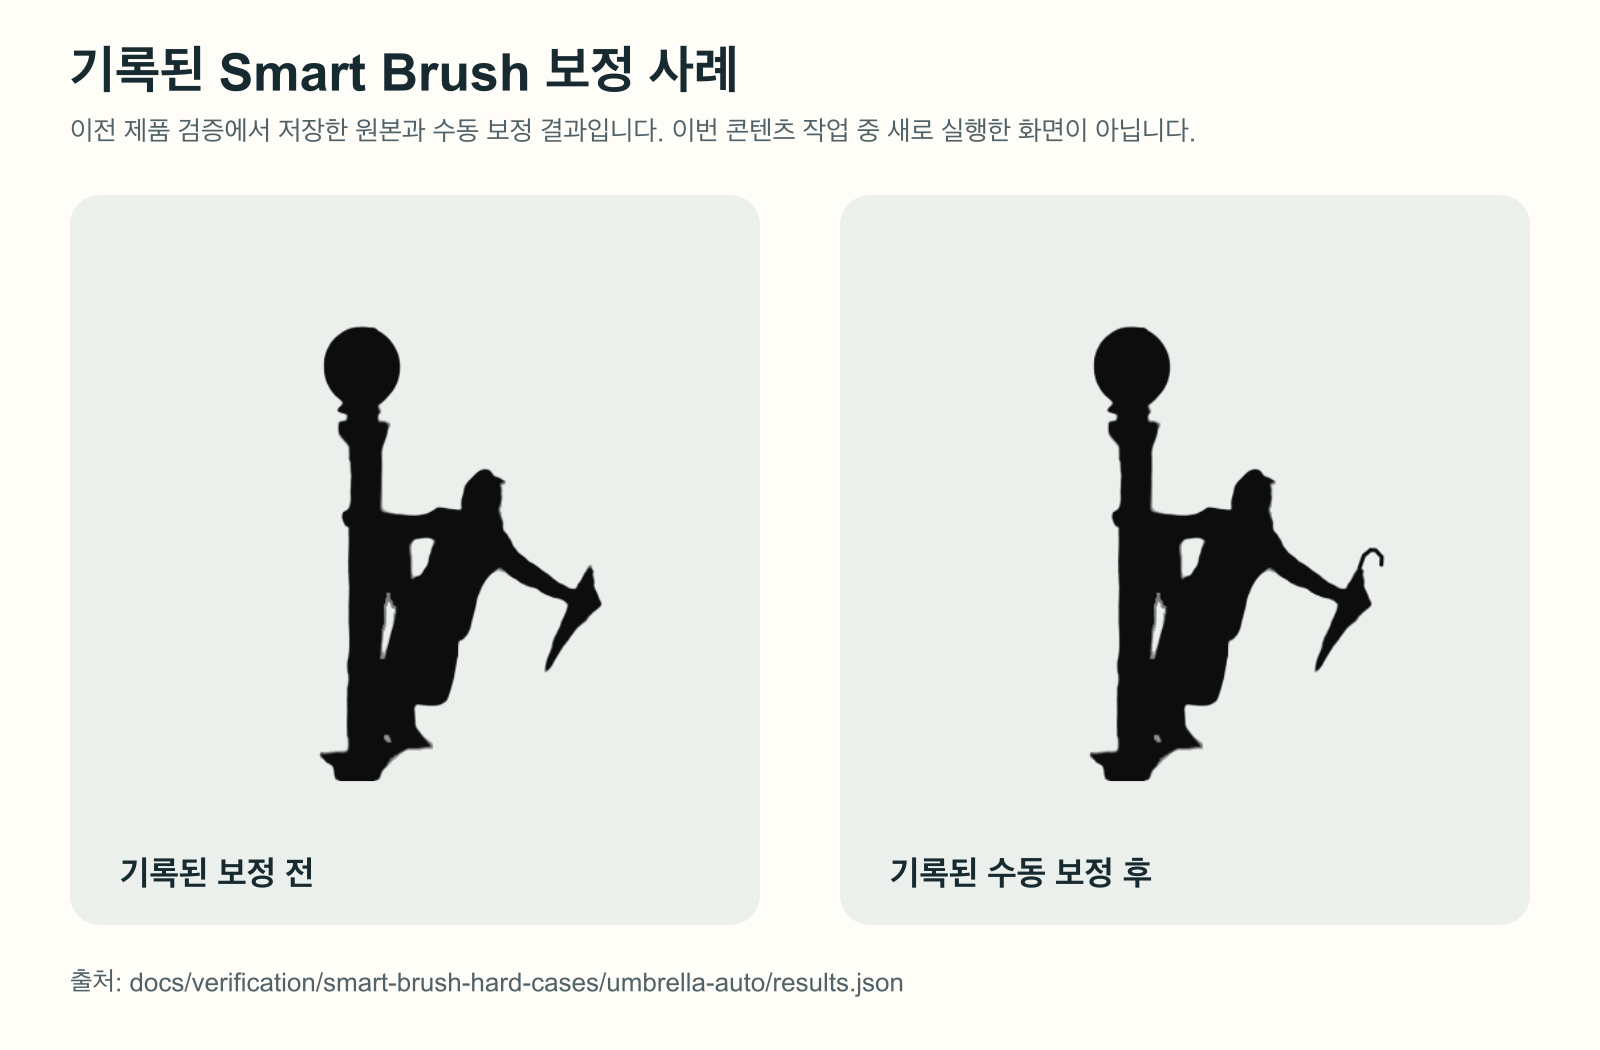
- Use Smart Brush if a thin part is missing or a piece of background was included.
- Choose Filled or Outline, select its background, and download the current PNG.
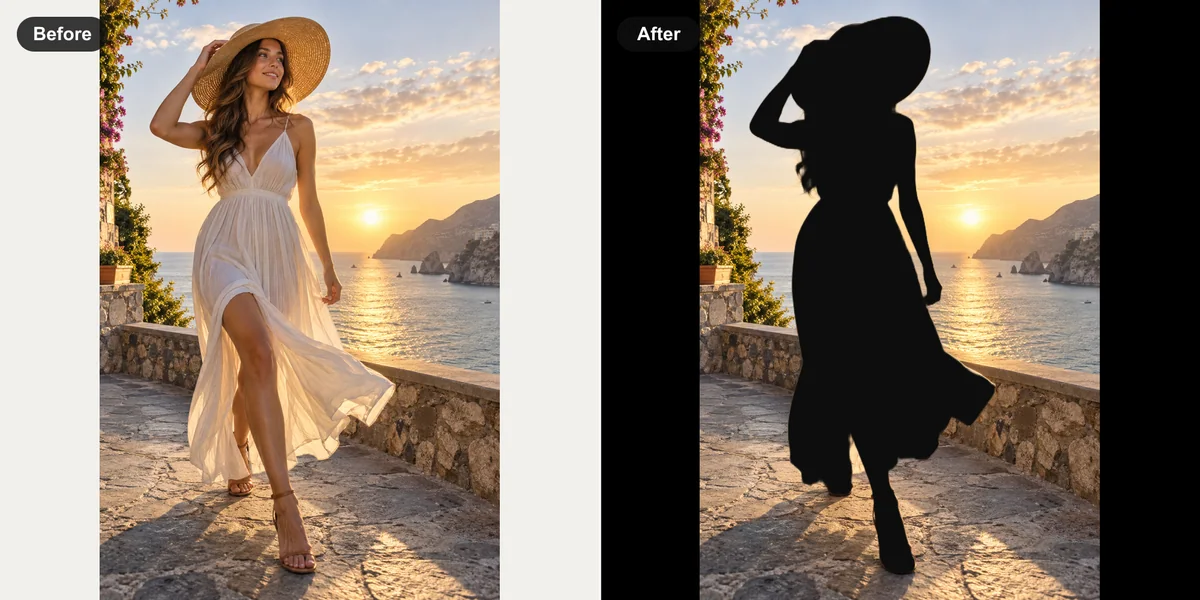
Choose a photo with one clearly defined subject
A person, pet, product, vehicle, or character is easier to isolate when its outer shape is visible and different from the background. Strong contrast helps the subject detector find the boundary.
Avoid crowded groups, heavy motion blur, and source photos that crop off important parts. A converter cannot recreate an ear, foot, tail, or wheel that is outside the original frame.
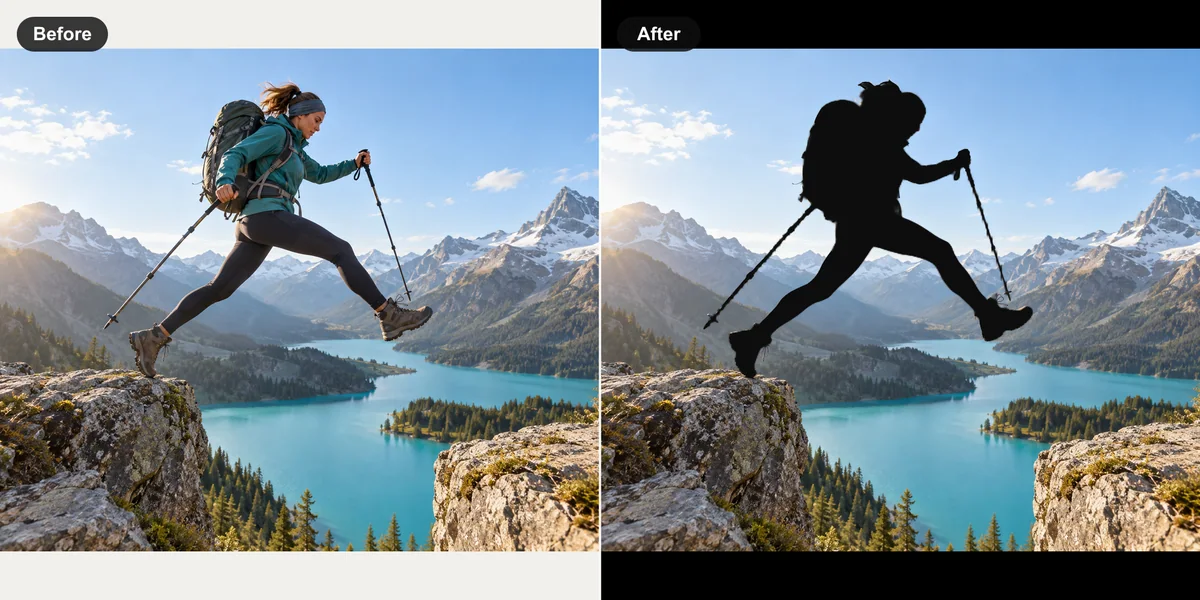
Pick the silhouette result that fits your project
The Filled option turns the detected subject into a solid shape. Use Original to keep the source scene, Transparent for a reusable cutout, or Custom for a solid background you choose.
The Outline option follows the subject boundary. Original keeps the full source image under the line, Transparent or Custom changes the background, and Hollow keeps the surrounding scene while leaving the subject area open for coloring. Every download is a raster PNG file.
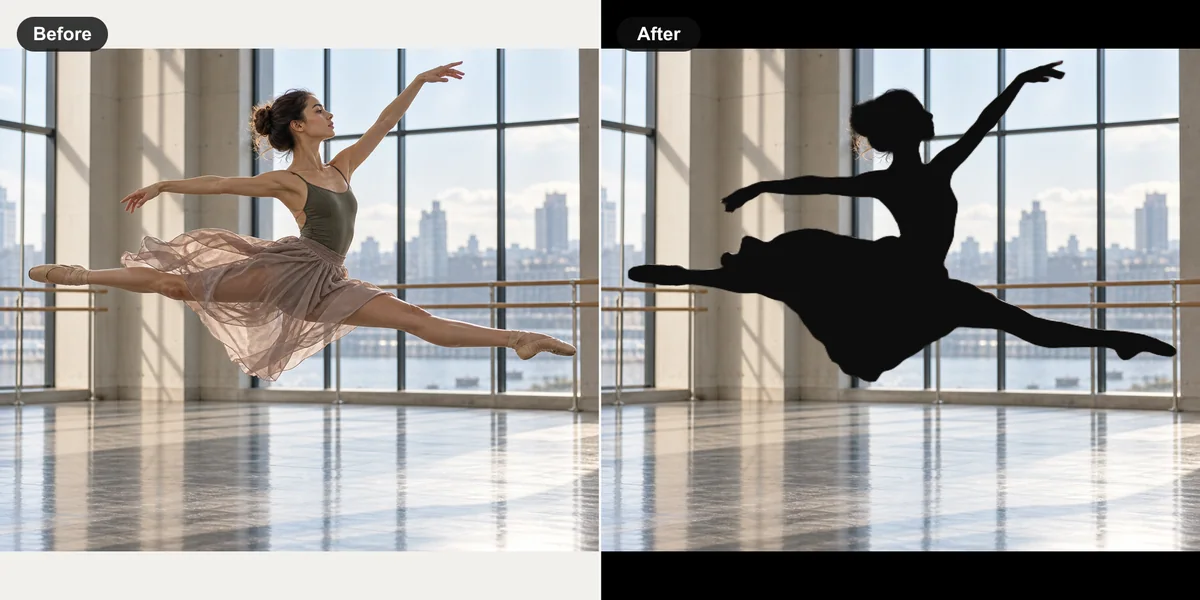
Correct difficult edges with Smart Brush
Thin hair, ears, spokes, glass, reflections, and low-contrast edges can confuse automatic selection. Use Add on a missing area or Remove on unwanted background, then let Smart Brush inspect that local region again.
Start with a Tight selection range for a small detail. Use a wider range only when the connected part is larger than the first inspection area.
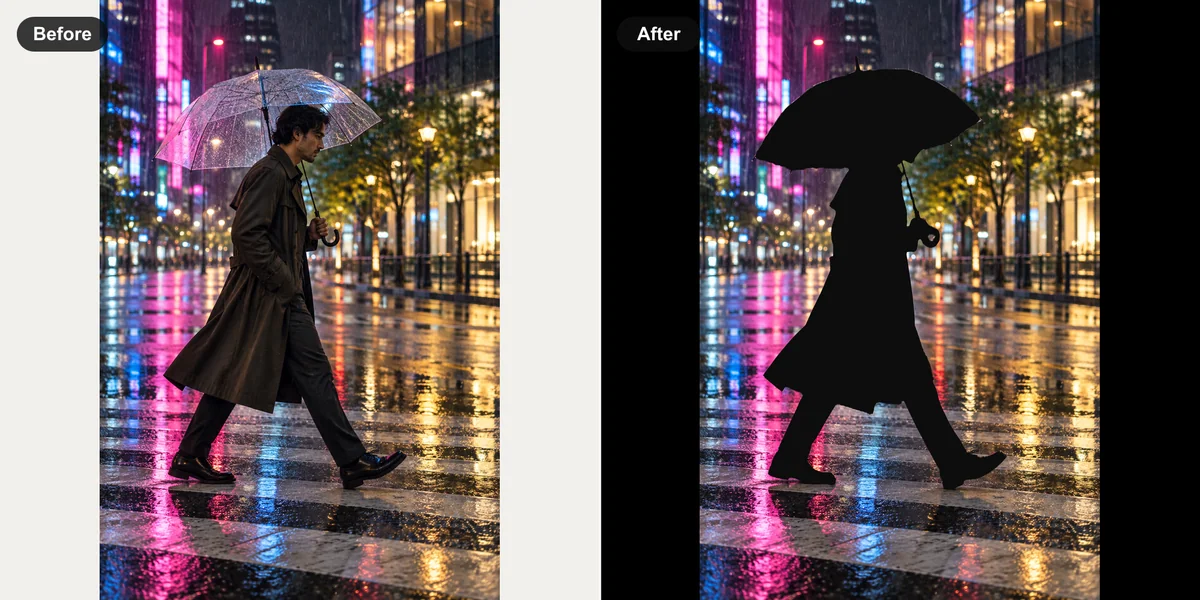
Know when you need a vector editor
SilMaker creates PNG images at the processed image size. It does not trace scalable SVG or manufacturing cut paths. For a logo, large-format print, vinyl cutter, or precision production file, use the PNG as a visual reference and finish the path in vector software.